Visiting points, assigning sampling plots
Visiting sampling points

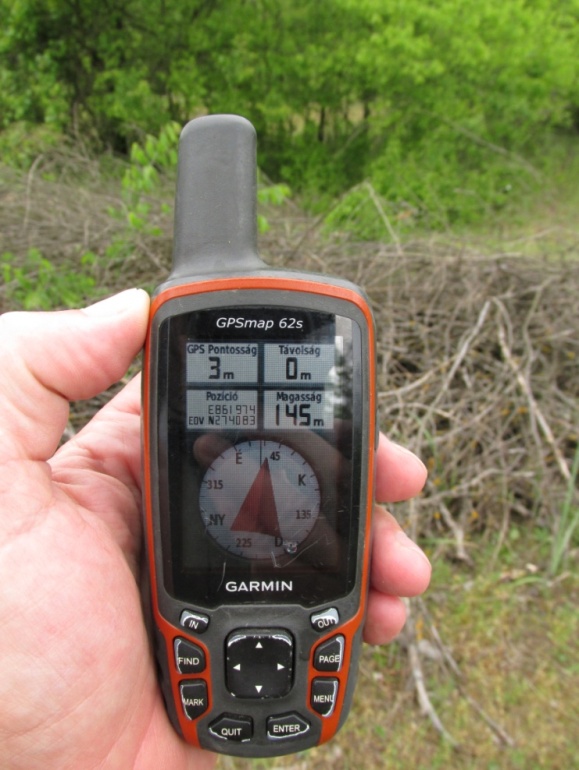
A list of field points is compiled as described in the Chapter on "Preparation and classification", and is uploaded to a FieldMap project and the GPS device used to assist sampling point visits.
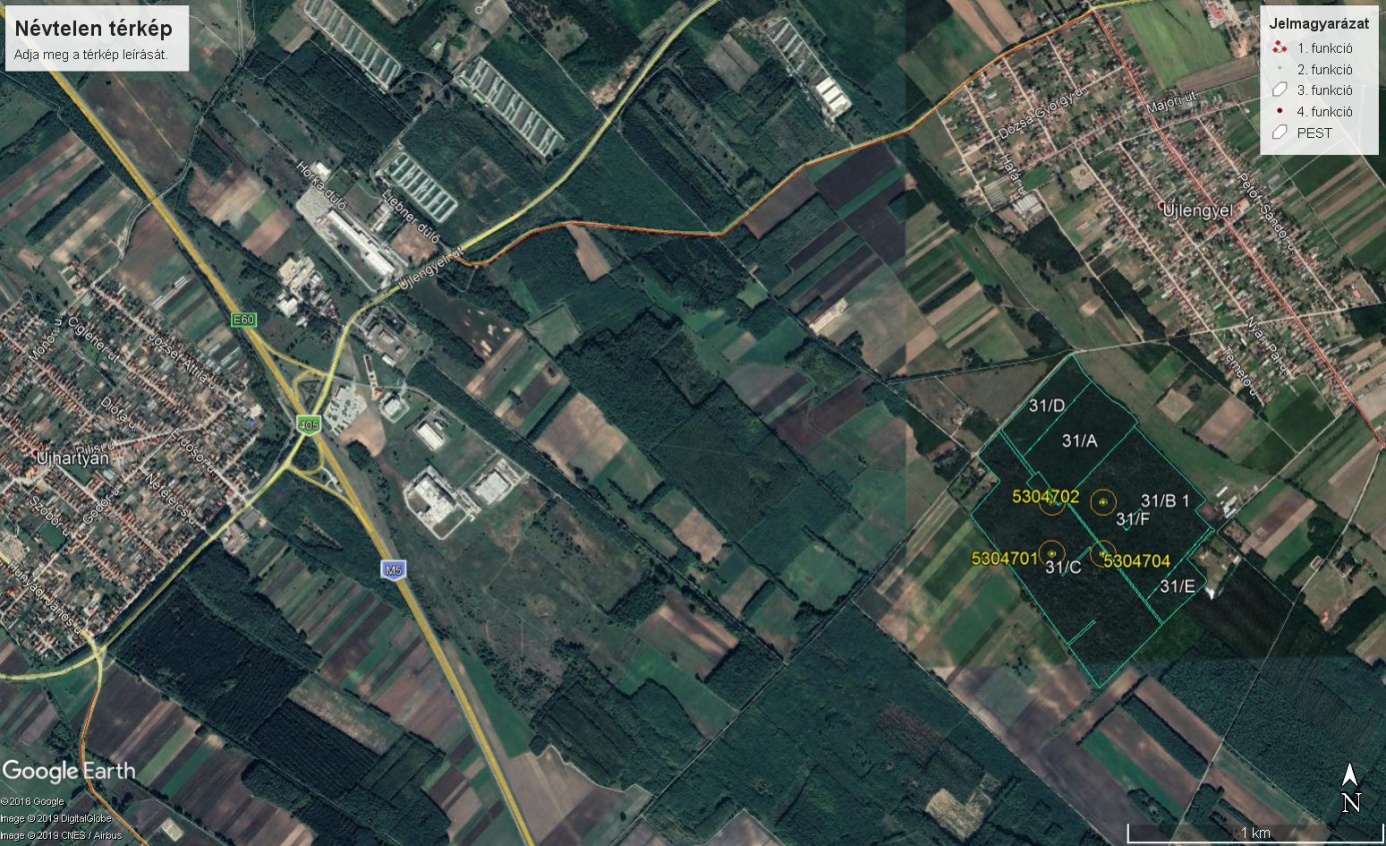
Whilst the assignment of and visits to sampling points relied on measurements taken with land survey tools earlier on, nowadays GPS devices are used for the same purpose as they are safe to use and provide acceptable accuracy. To complement the official maps of navigation a forest management map has also been uploaded as a special masking layer. Information collected during the desk based preparation of visits and archived descriptions of former visits are also uploaded to the rugged field PC to help movement across the terrain. The PC also holds cropped sections of satellite images known as "frames", which contain a wider angle photo showing a larger area, also including populated areas in most cases, and an "enlarged" image zoomed in to show the immediate vicinity of the tract.

Frame with remote view
Given the support described above, visits to existing sampling points and to mark new points are managed without considerable hardships.
Upon returning to a sampling point, which was established during a previous cycle and is in permanent use, markings painted on some of the sample trees earlier may provide additional help.
When former - OSG established - sampling points can be located and are no more than 50 m away from a notional centre point, and the former sampling plot also meets the requirements set for sampling, then records will be taken at the former point. Even if the distance between a former sampling point and a notional sampling point is inside the acceptable range, recording can only be performed at the former point if there is no marked difference between the stocks standing at the two potential sampling locations (such as pine forest instead of beech forest, old stand instead of juvenile growth, etc.). Whenever there is a difference, recording should be performed at the notional point.
A note is recorded in the project about whether the former or an alternative centre point was used for recording purposes.
Although the route is captured by the GPS device already upon completing the records on the way between the sampling point and the nearest main road reached, it is practical to mention this phase of the work here, as this exercise supports returning to the same location in the future. The layouts generated this way are archived for later use.
Recording review
Once the centre of a sampling point is identified, one should review whether sampling is justified. As a first step, one must revisit and decide whether the specific area is actually forest land area, that is to say whether it meets the requirements concerning size of area and the closure of tree specimens.
To be able to decide the size of an area, one must first be able delineate it. The basic question of delineation is which tree specimens should be regarded to belong to and to be outside the delineated area. When trees are used to mark the borderline, their butts (lines of axis) should be no more than 20 m apart and that the borderline drawn that way should not return to itself (except for enclosing the area). The borderline of the area is an enveloping curve around the vertical projection line of the canopies of tree specimens forming the borderline.
In addition to delineating the area as described above, one must take into account yet another parameter when making a decision about wooded areas of linear shape: the width of a linear stand must surpass 20 m at the centre line of the sample.
Once the tree specimens at the borderline of the stocked area are identified, one can establish the borderline of the area and can thereafter calculate its size. One of the fundamental criteria of classifying areas as forest land area or other wooded land (OWL) is area size, i.e. whether or not a stocked area is larger than 5000 m2.
When decisions are uncertain, area measurement taken by GPS along the borderline determines whether or not the area is accepted as a sample.
When the size of a delineated stocked area surpasses 5000 m2, canopy closure must be estimated.
The vertical projection of the external borderline of the canopy should be considered for the purpose of the decision on canopy closure of a sampling plot. Holes of the canopy due to lack of leaves should be ignored for the purposes of determining closure, and the closure value is always estimated on the basis of the vertical projection of the full canopy. When vertical overlaps are encountered (one tree under another), the projection should only be counted once.
Forest land area, other wooded land (OWL) or shrubbery
After estimating closure, one can rate the point of terrain visited. With a view to the discussion in the section on definitions and only focussing on the value of closure, stocked areas where canopy closure is > 10% are classified as forest land areawhile stocked areas where canopy closure is > 5 % but <= 10% are rated as other wooded land (OWL).
If the combined canopy closure of trees and shrubs is higher than 10%, but the closure of trees is less than or equals 5 %, the area is classified as shrubbery. (International definitions interpret OWL as the combined area of "other wooded land" and "shrubbery", as those terms are defined in Hungary.) In all other cases, areas are classified as unstocked. Based on the above, one should determine sampling point status.
Fixing a sampling point for permanent use
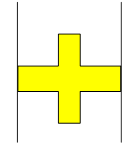
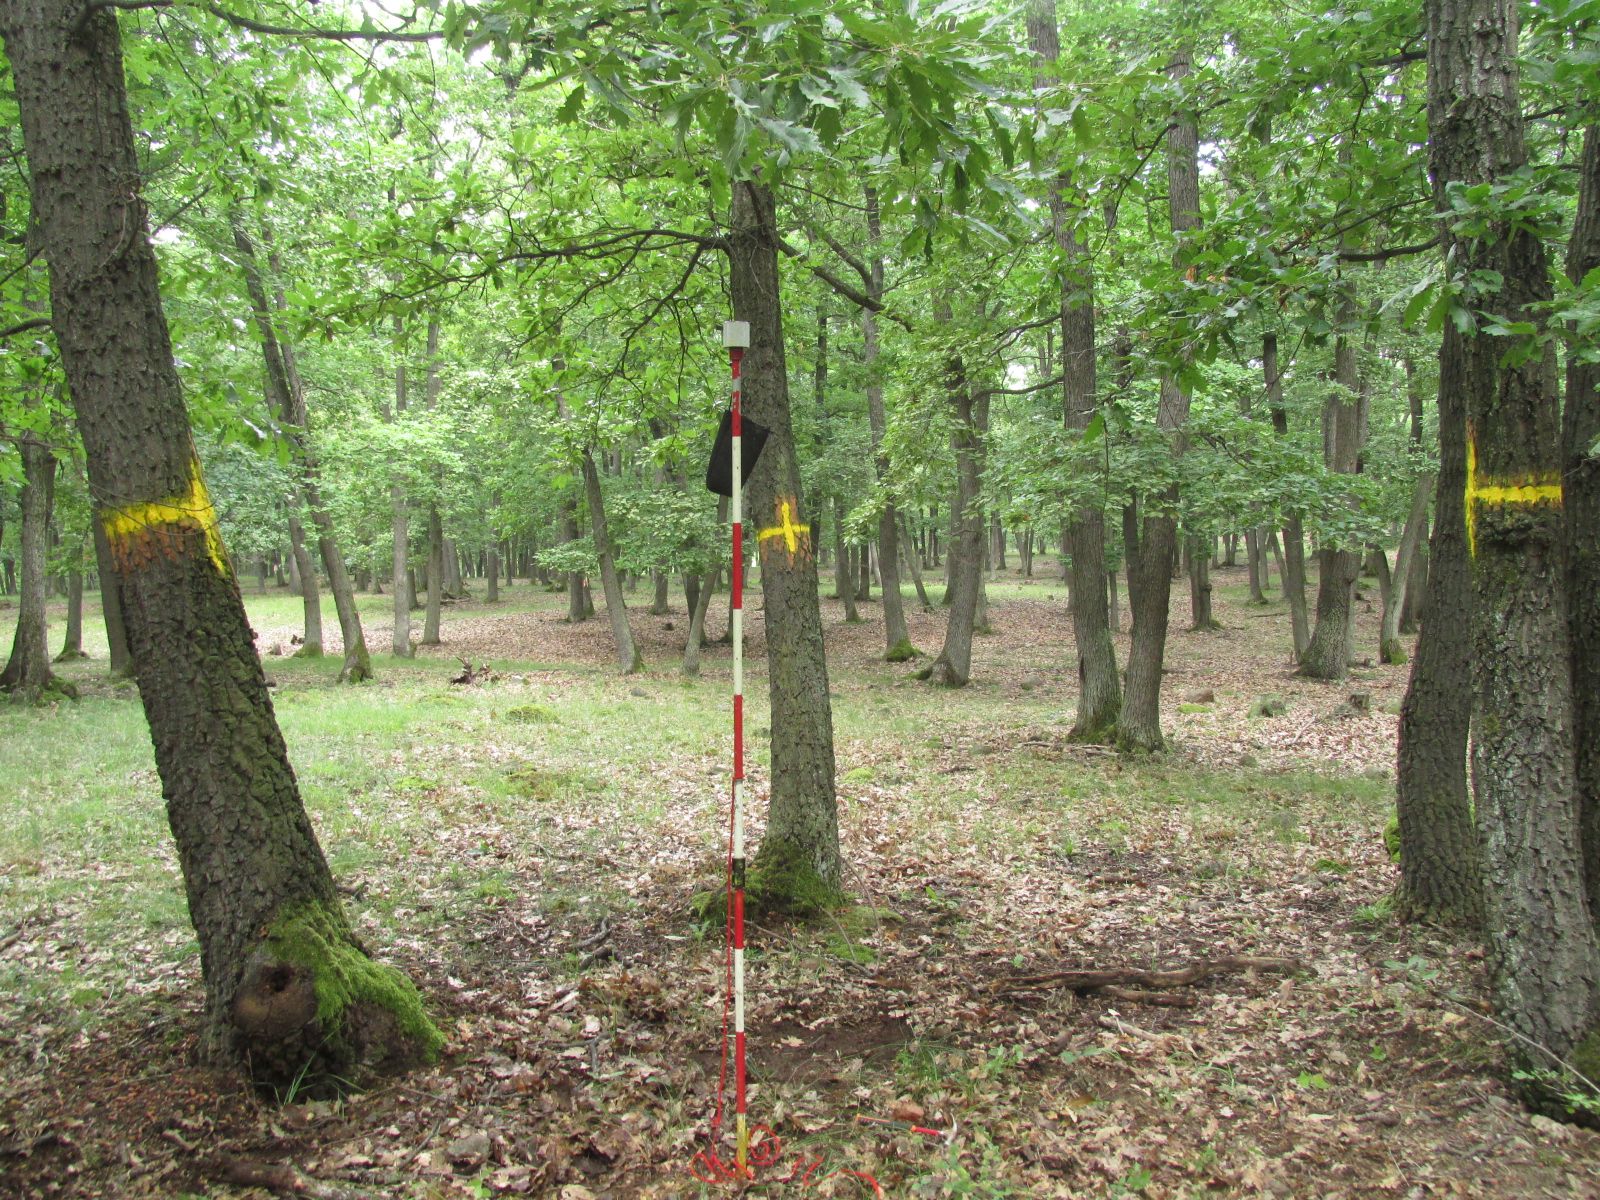
If a point is classified as forest land area, it will be fixed. A sampling point is fixed by driving a metal stave with its end coloured yellow in the centre point and by leaving paint marks on three sample trees of average diameter, which can in all likelihood be identified in 5-10 years, if possible in a way that the trees with paint marks form an equilateral triangle around the centre of the sampling point, which serves as centre of gravity. A yellow strip marks the area and vertical paint marks point towards the centre of the sampling circle.

Marking the centre of a sampling point

Sampling circle with trees showing paint marks and a cylinder type prism used to assist recording